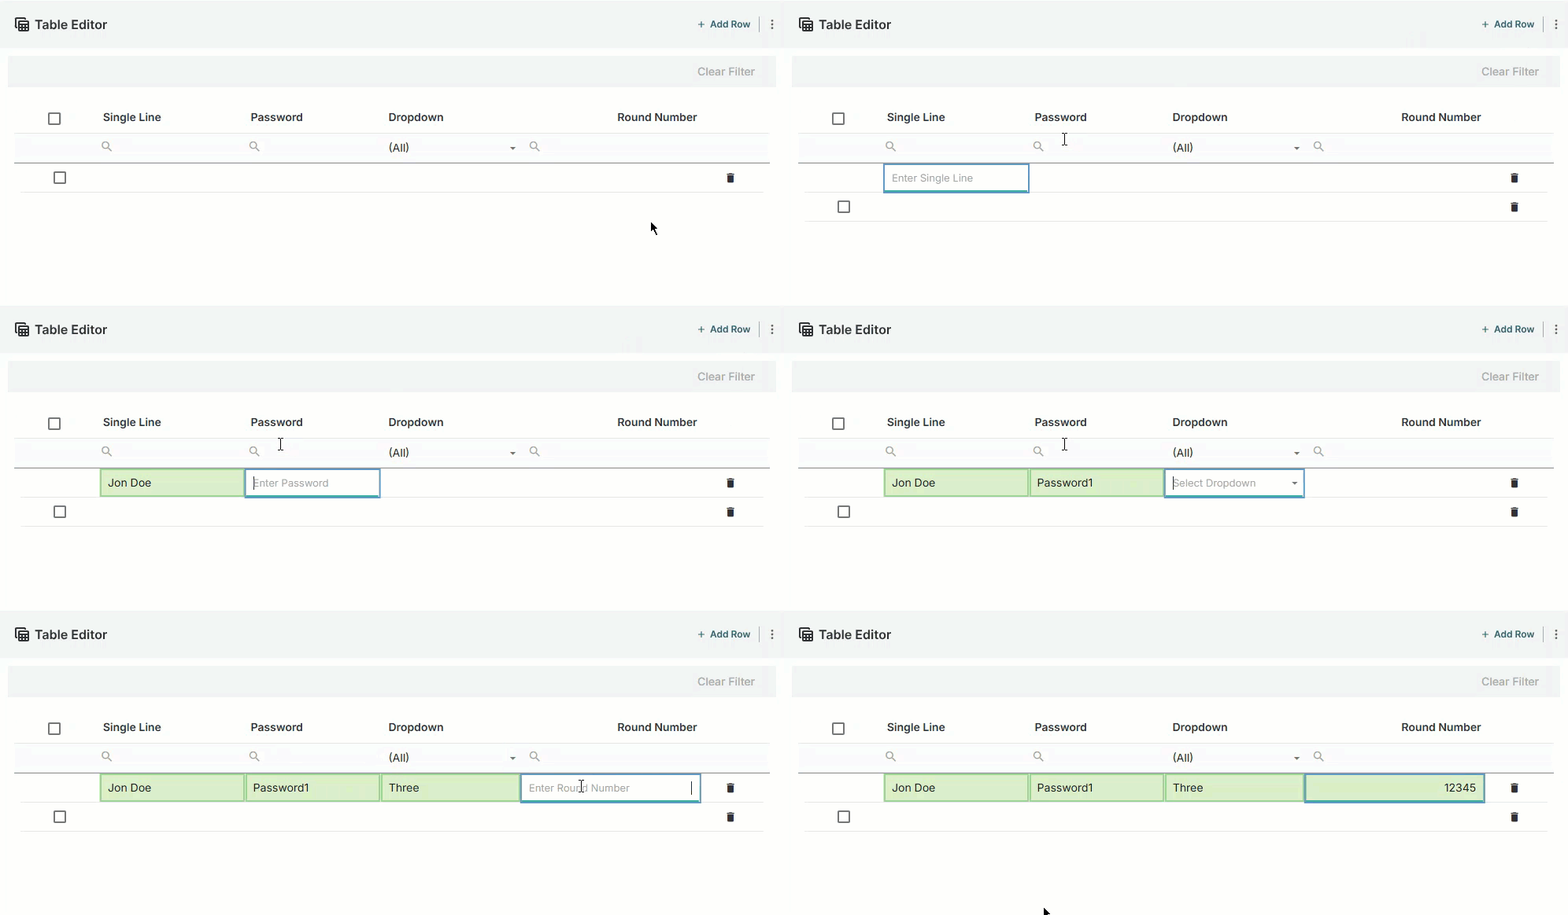
Add and delete rows, import and export data from the Table Editor screen. While you manage individual table rows and data, any changes you make remain in a draft state until you save your changes so you can review all of your changes prior to saving the custom table.
Note
If you import data to the table, toggle on Preview Imported Data so you can review the data that is being added to the custom table first before accepting the updates.
Before you begin
For
.csvimport:Ensure your
.csvfile column headers match the column headers in the custom table (this is not case sensitive).Ensure the data type in the rows matches the data type you selected for the columns. If the data type does not match, the data will not be added to the custom table and the cell will be blank.
Table Editor screen
Column headers—click the column header or type in the search to filter the data in the table.
Table row colors indicate changes made to the rows until you click Save.
Green—proposed rows of data that will be added or cells of data that will be updated
Gray—rows of data that will be deleted
No highlighted color—no changes to the row or data.
Changes to the table are not saved until you click Save on the table. If you click Exit without saving, any changes are lost.
Option to add row or the menu ⋮ where you select to import, export, add rows, and delete all table data.
Option to delete or undelete individual rows of data.
Manage custom tables
Go to Commissions > Custom Tables.
Find the custom table you want to manage.
Click the menu ⋮ > Details.
Manage the custom table as needed:
Import data to the table.
Export the table data.
Delete all data from the table to start over.
Once you complete your changes, click Save.
Manage individual rows of data
Add individual rows
Click Add Rows.
Type the data in the cell for each column.
Add additional rows as needed.
Click Save.
Delete individual rows
When you select to delete individual rows, the row is still maintained as a deleted row in a draft state.
From the table, find the row you want to delete.
Click Delete.
Select for all rows you want to delete.
Note
Rows remain in a draft delete mode until you click Save. While in draft mode, you can click undelete on rows you want to keep. Once you save your changes, you cannot undo this action and any rows selected for delete are removed from the table.
Click Save.
Manage multiple rows of data
Go to Commissions > Custom Tables.
Find the custom table you want to manage.
Click the menu ⋮ > Details.
On the Table Editor screen, click the menu ⋮.
.png)
Complete the following as needed:
Import data to a table
When you import data to a custom table, Fullcast scans your file and compares it to the current data in the custom table. It will match and add or override data in the custom table from the .csv file to ensure rows are not duplicated.
Note
The
.csvfile name does not need to match the custom table name to import.
Go to Commissions > Custom Tables.
Select the custom table you want to import data to.
Click the menu ⋮ > Import Data.
.png)
Select how you want to import data:
Use this option to add additional rows of data to the table. The import parses the file and excludes rows that are an exact match.
Select Update Column Data.
From the dropdown, select the column you want to update.
Select the file you want to upload.
Click Update.
Note
If you have Preview Imported Data toggled on, a screen displays with the data that will be added to the table. Once you complete your review, click Confirm.
Click Save.
Use this option to add additional rows of data to the table. The import parses the file and excludes rows that are an exact match.
Select Import CSV.
Select the file you want to upload.
Click Update.
Note
If you have Preview Imported Data toggled on, a screen will display with the rows that will be added to the table. Once you complete your review, click Confirm.
Click Save.
Export data
Use this option to download a .csv file of the table date.
From the Table Editor screen, select menu ⋮ > Export Data.
.png)
Save
.csvfile to your computer.
Delete all rows
Use this option to remove all data from the table to start over.
Warning
If you delete all rows it removes all data from the table. This action is immediate and cannot be undone.
From the Table Editor screen, select menu ⋮ > Delete All Rows.
.png)
From the confirmation window, click Delete.
.png)

