
Information:
If you want to use the routing policy in your fullcast package it is essential to follow through the initial steps given in this setup document and enable territory routing.
Enable Territory Routing
Navigate to Setup > Custom Metadata > Manage Records
On the next window, select Edit against the Enable Territory Routing record.
Set Field Value to True to enable Territory based routing
Set the value to False if you want to disable Territory-based Routing for Leads.
Figure 1. Editing Fullcast Policy Settings
Lead Field Mapping
Go to Setup.
Type Custom Metadata Type in the Quick Search bar and select it.
Select Manage Records against Fullcast Policy Setting.
Click on New.
Create a record as shown in the figure below:
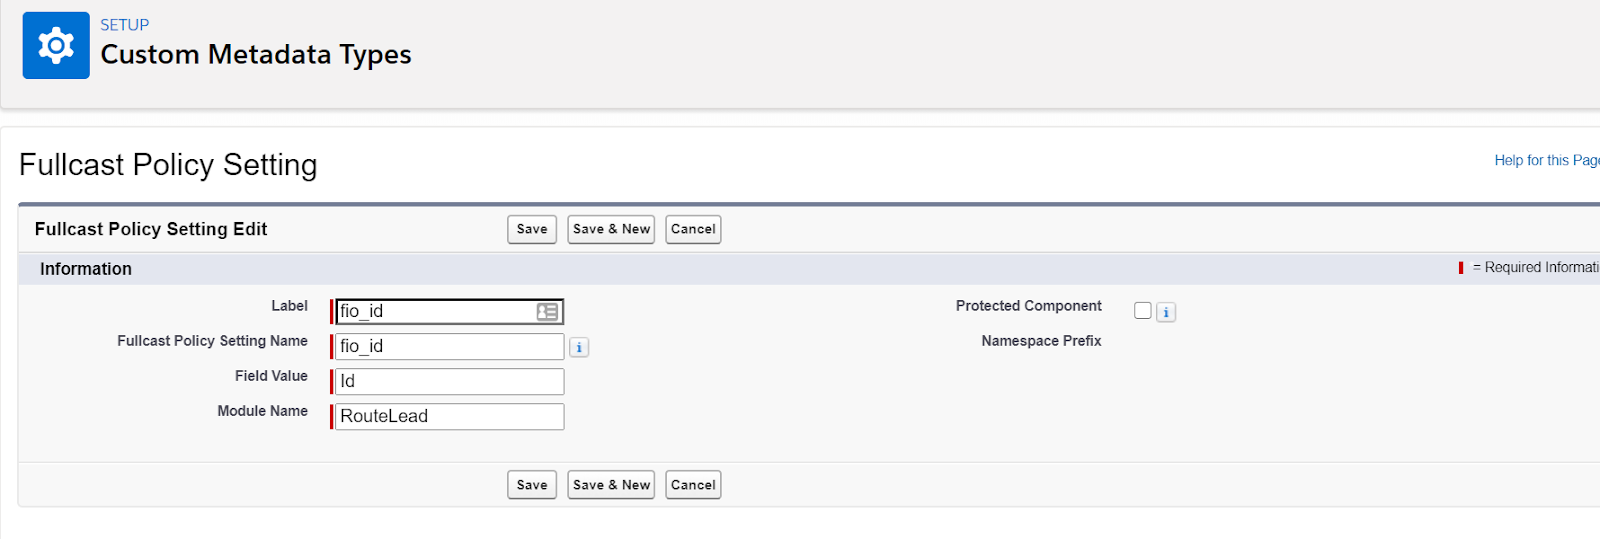
Figure 2. Record Creation
The field value of Label is fio_id which is a mandatory field for mapping.
Fill in the Module Name field as RouteLead.
Label, Field Value & Module Name
The module name should be RouteLead for all the field mapping records in Custom Metadata (between Salesforce and Fullcast Application) to execute Territory-based Routing for Leads
The Label Section in Custom Metadata refers to the field name on Fullcast Application based on which hierarchy is created.
Field Value on Custom Metadata refers to fields on Lead Object which is equivalent to Field on Fullcast Application.
To set fields:
Click the Settings icon (gear) and select Entities & Fields
Pick Accounts from the Entity dropdown
Figure 3. Fields and Entities in Fullcast
Information:
The label section in custom metadata is case-sensitive. The FieldValue is not.
Lead Auto Convert Stage
To enable the Lead Auto Convert Stage on the Routing Queue we need to do the below setups mandatorily for it to execute successfully:
Go to Setup
Type Lead Settings on the Quick Search bar and select it. The path for Lead settings is Customize > Leads > Lead Settings.
Select the Edit button to make changes
Uncheck the Require Validation for Converted Leads option
Select Save
Figure 3. Disabling the Require Validation for Converted Leads