Fullcast offers a fully automated data import and export process that can be directly managed within the application. All aspects of the integration layer, such as specifying fields for import/export and monitoring job statuses and details, are accessible through the Export/Import tab. Users can view integration issues by reviewing error files generated during the process.
The two distinct packages facilitating data exchange between Fullcast and Salesforce:
Standard package: The standard package includes comprehensive CRUD capabilities for both fields and entities. Users with version 2.160 and above are eligible to access the standard package and manage data within the system.
Custom package: This package solely offers update capabilities. Versions below 2.160 are considered custom packages.
To determine the installed package version, admin users should access the Export/Import tab in settings and review the Fullcast Motion Package Details field.
Accessing the Export/Import tab
Access your Fullcast instance and switch to the appropriate plan.
Click the Settings icon (gear) and click the Export-Import tab.
.png)
The connections tab is home to the following information:
Field
Description
Standard vs. Custom Jobs
This identifies if you are using a standard job or custom job. Custom jobs will have the “Use Custom Import/Export Jobs” option checked.
Using custom jobs incurs a cost.
Consult your Business Partner before proceeding with custom jobs.
Fullcast Motion Package Details
This identifies which managed package you have installed. The most recent version of the managed package should be installed.
Connections
This identifies your established connection to Salesforce.
Export
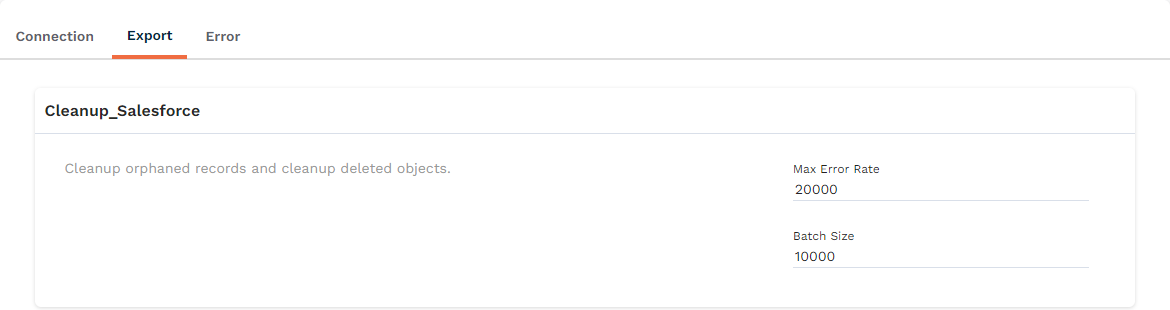
Files in the Export tab provide error messages and any suggested fixes as applicable. These fixes may include:
Notification of required updates due to field deletions on the customer side.
Suggestions to rerun a job with adjusted parameters (e.g., limited record count, smaller batch size, higher error threshold) in cases of frequent errors, ensuring successful job completion.
Alerts for connection failures due to revoked access.
Error

If any errors are encountered, you can view them here in the error tab.