Use the Clone Assignments option to clone selected active assignments from Territories, Teams, or Products in a plan with new dates in the same node as the source assignment.
Go to the appropriate module (Territories, Teams, or Products) > Mange Coverage.
.png)
From the left menu, select the node you want to clone assignments from.
Click Actions > Clone.
.png)
In the Clone Assignments screen, complete the following fields to filter the assignments you want to clone, as needed:
Field
Description
Clone from dropdown
Select the node option from which you want to clone.
.png)
Criteria
Use
AndandOroperators with selected conditions to add additional criteria by which to sort what assignments to include when you clone..png)
Start Date and End Date
Select the start and end date criteria based on when you want the assignment to start and end.
Days: Number of days from the source start or end date.
Fiscal Year: Choose the fiscal year on which to start or end the assignment.
Custom date: Choose a specific date you prefer to start or end the assignment.
.png)
Click Next.
In the confirmation window, type
CONFIRMthen click Confirm.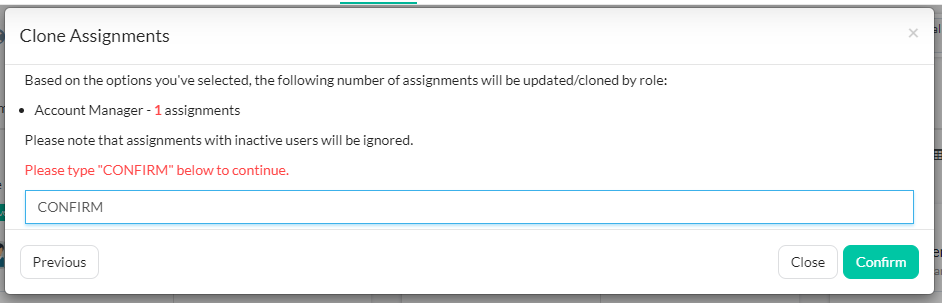
Note
If there is an error cloning the assignments, an error icon displays.
.png)
Go to Settings > Audit > Logs and locate the log with the event name assignments.clone and your username to view details regarding the error.
.png)