
Information:
If the dashboard does not load, you have to load the Segments/Teams/Products tab associated with the module.
Dashboards are customizable pages where you can compile multiple charts and reports for quick visualization.
Information:
It is essential to create a folder before creating your first dashboard. Dashboards get organized in the folder that you choose. Refer to the Organizing folders for dashboards to learn how to create folders.
To create a dashboard:
Access your Fullcast instance and switch plans if applicable.
Click Reports and click the New Dashboard button.
In the pop-up menu, enter a Name for your new dashboard, select a GTM type - indicating the core object shown in the dashboard (E.g., Segments, Teams, or Products) and select a Folder from the drop-down menu to group your dashboard into.
Check the Allow personalization if you want your users to change the view of their charts.
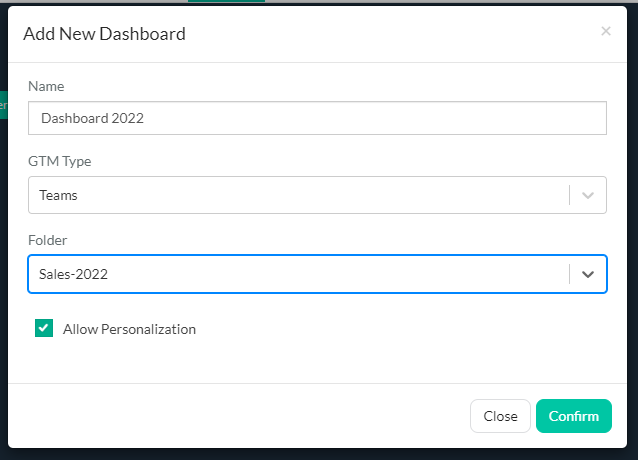
Figure 1. Add New Dashboard Settings
Select Confirm.
Clone/Edit/Delete a Dashboard
Navigate to the specific dashboard you want to delete.
Click the three-dot menu in the top right corner of the dashboard and select the appropriate action:
Option
Description
Clone Dashboard
Clones the dashboard and all of its data.
Edit Dashboard
Allows you to adjust the dashboard’s settings.
Delete Dashboard
Removes the dashboard.
Reset Dashboard
Resets the data on a dashboard.